All you need is a pen a notebook, except its a lot more than that. After seeing bullet journals plastered all over the internet whether it was instagram,tumblr or pinterest, I knew that I wanted to do it the right way. So I spent a day of researching and scouring the internet of different equipment and layouts. But I mean sharing is caring; so I have decided to share all my intel in this post. So without further ado, bullet journalling 101!
Step 1: The equipment
*A notebook- Any notebook that has good, thick pages that are dotted will work. Moleskines are perfect and the pages do not bleed either.

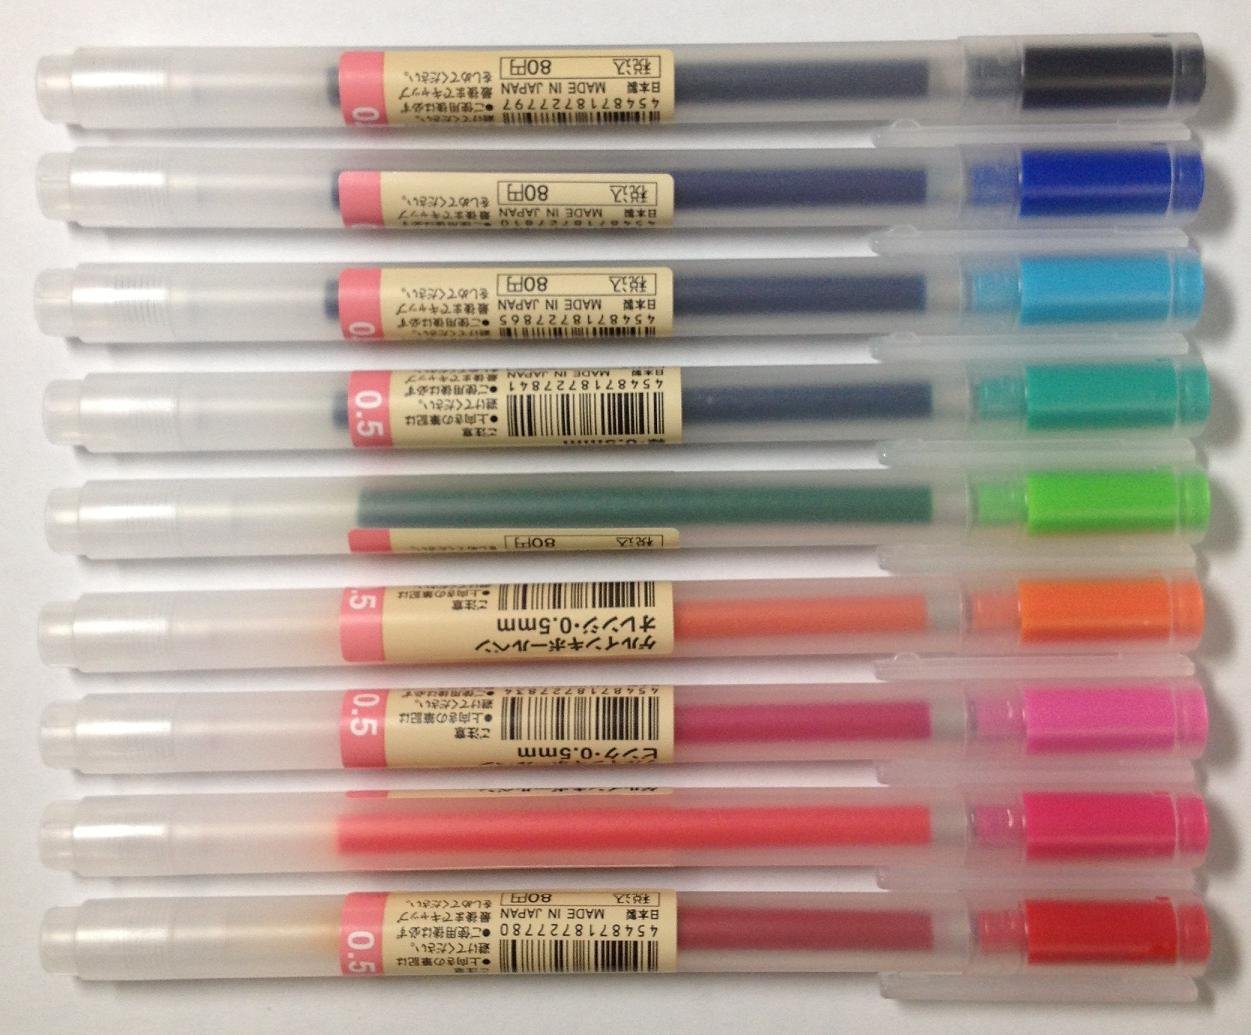
*Pens- You would need some thin gel pens or even fineliners. I love the muji gel liners. (All products are linked, just click the image 🙂 )
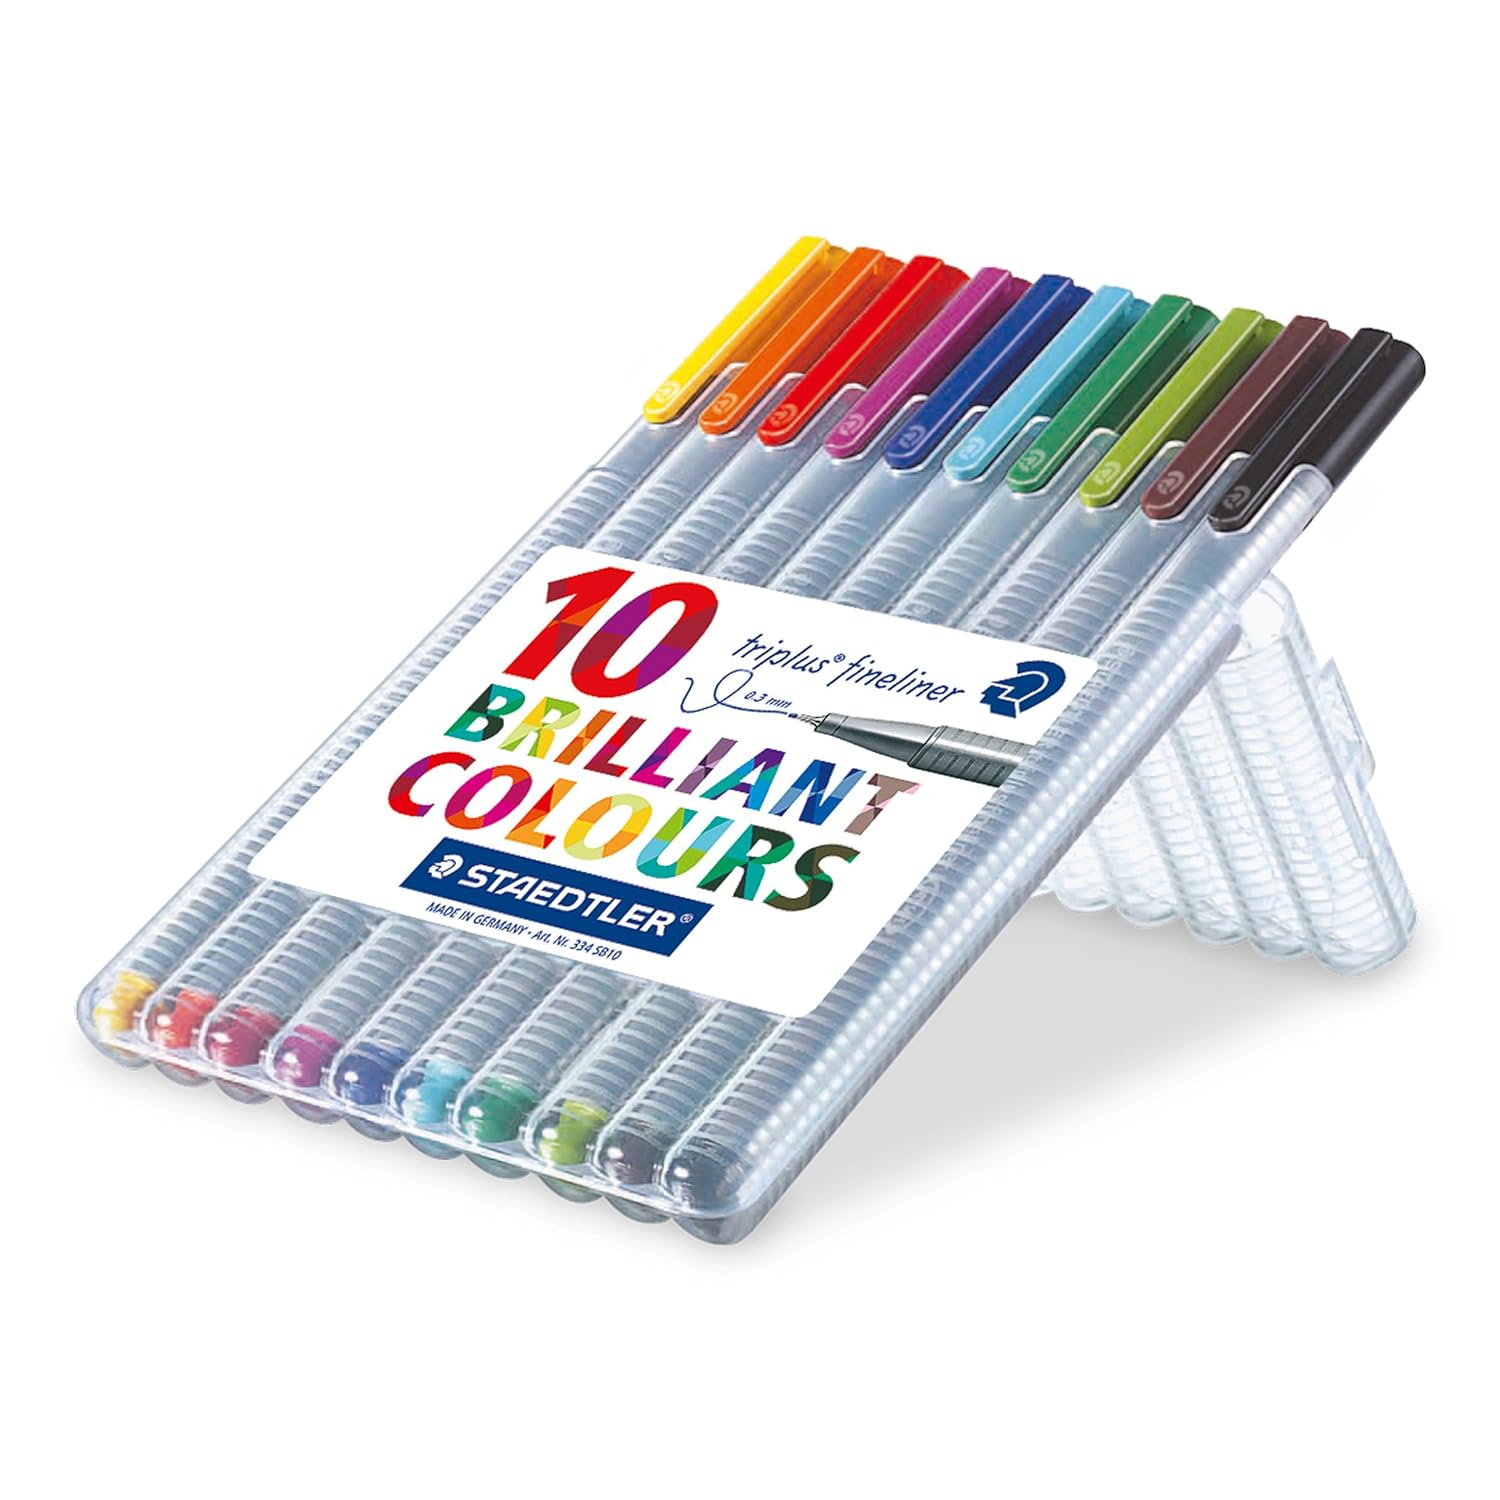
Or the staedtler triplus fineliner, they are less gel like so I suppose it is all down to preference.
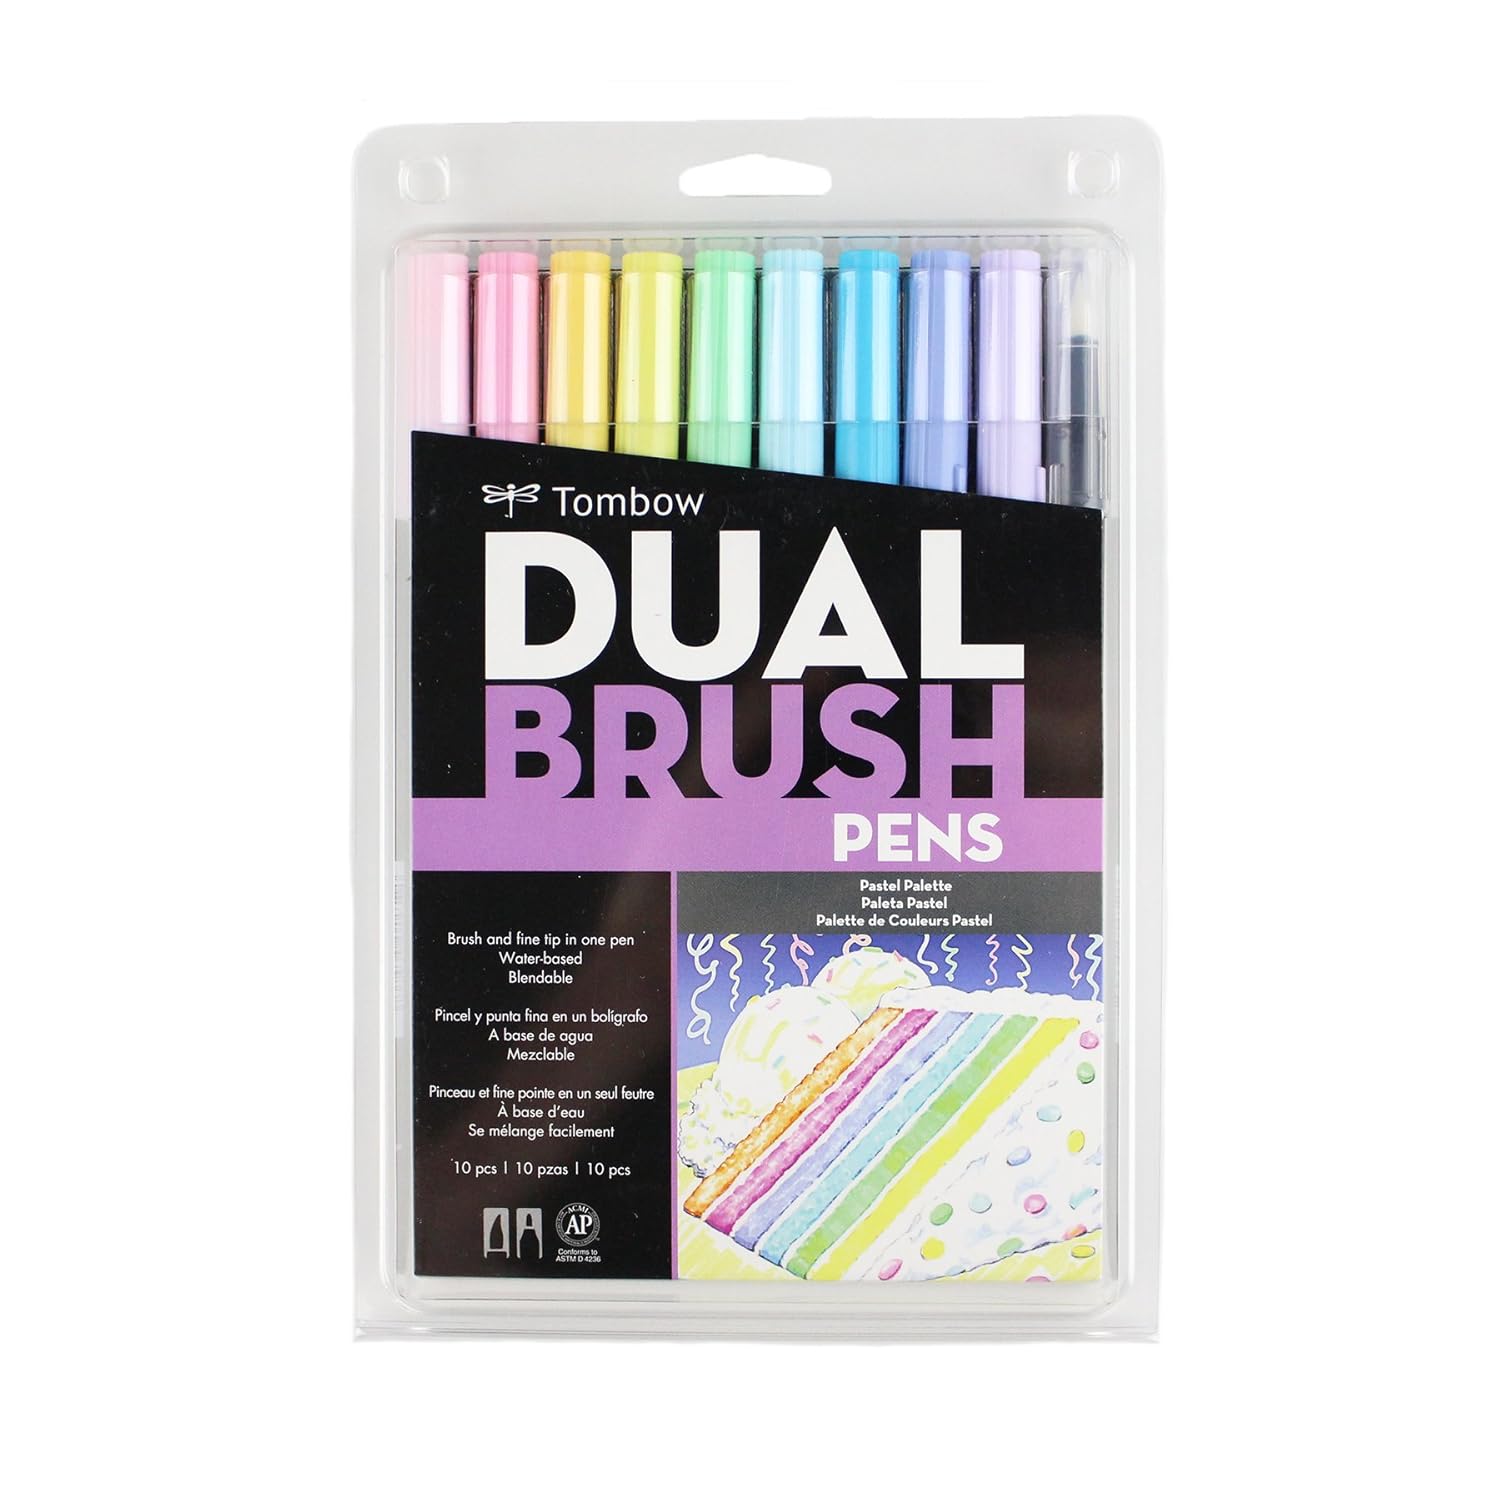
*Felt tips- If you want to do some shading in or perhaps even deciding on doing some calligraphy, these tombow felt pens are a must. My personal favourite are the pastel range but you can pick your colour selection.
*Black pens- Although you are going to be using lots of colour in your notebook, most of your bullet journal will be mapped out using a black pen; meaning that those will be the first pens to run out. So paper mate flair black pens are most definately a staple!

Step 2: Decorations
This is the fun part, you can personalise your bullet journal with whatever you desire, something to make your bullet journal more unique.
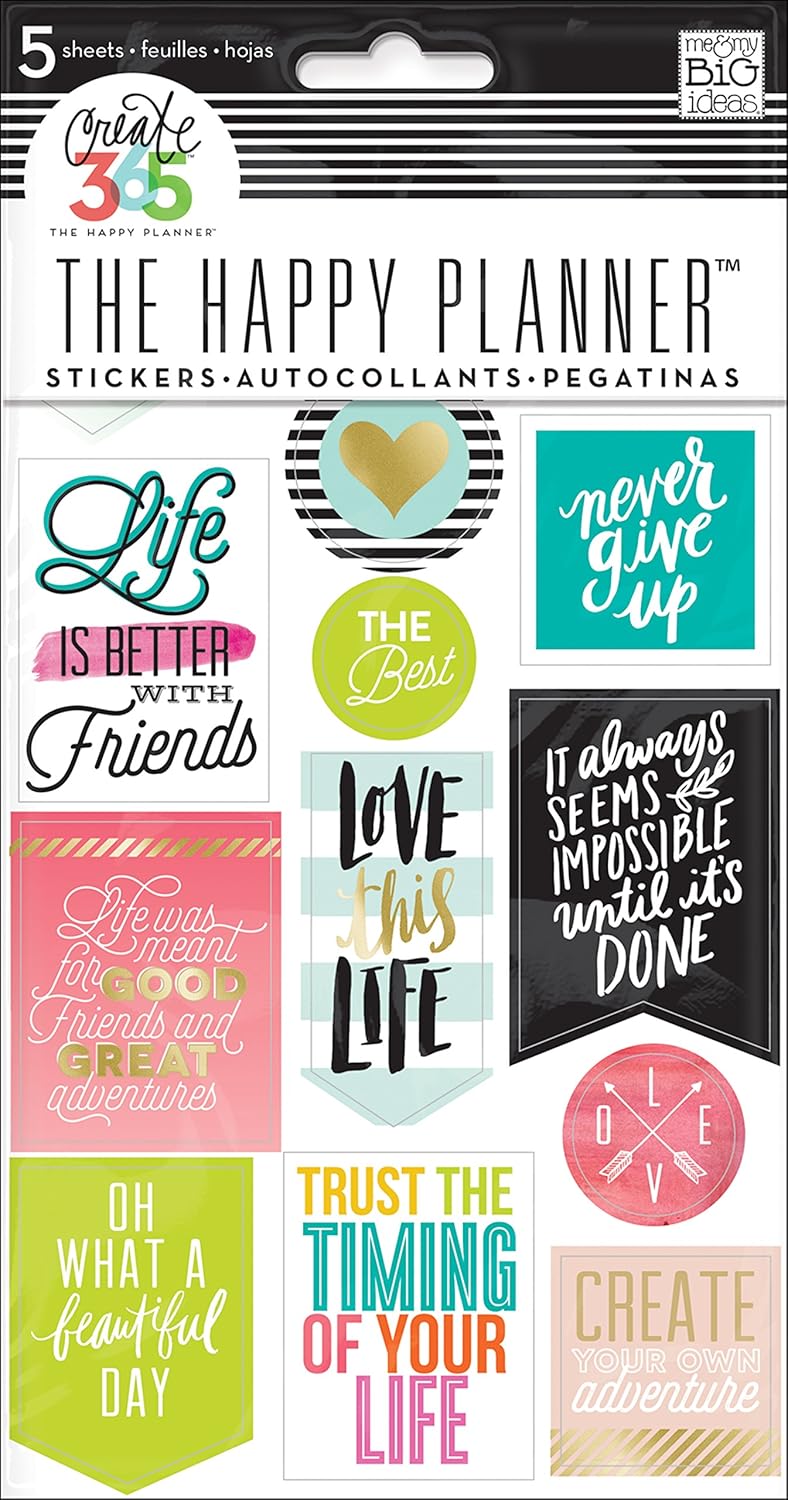
- Stickers: Some stickers saying ‘this week’ or some motivational quotes or even some wacky jokes can break down all the writing. These stickers from amazon are a great deal and look great, but feel free to find any that match your colour theme.
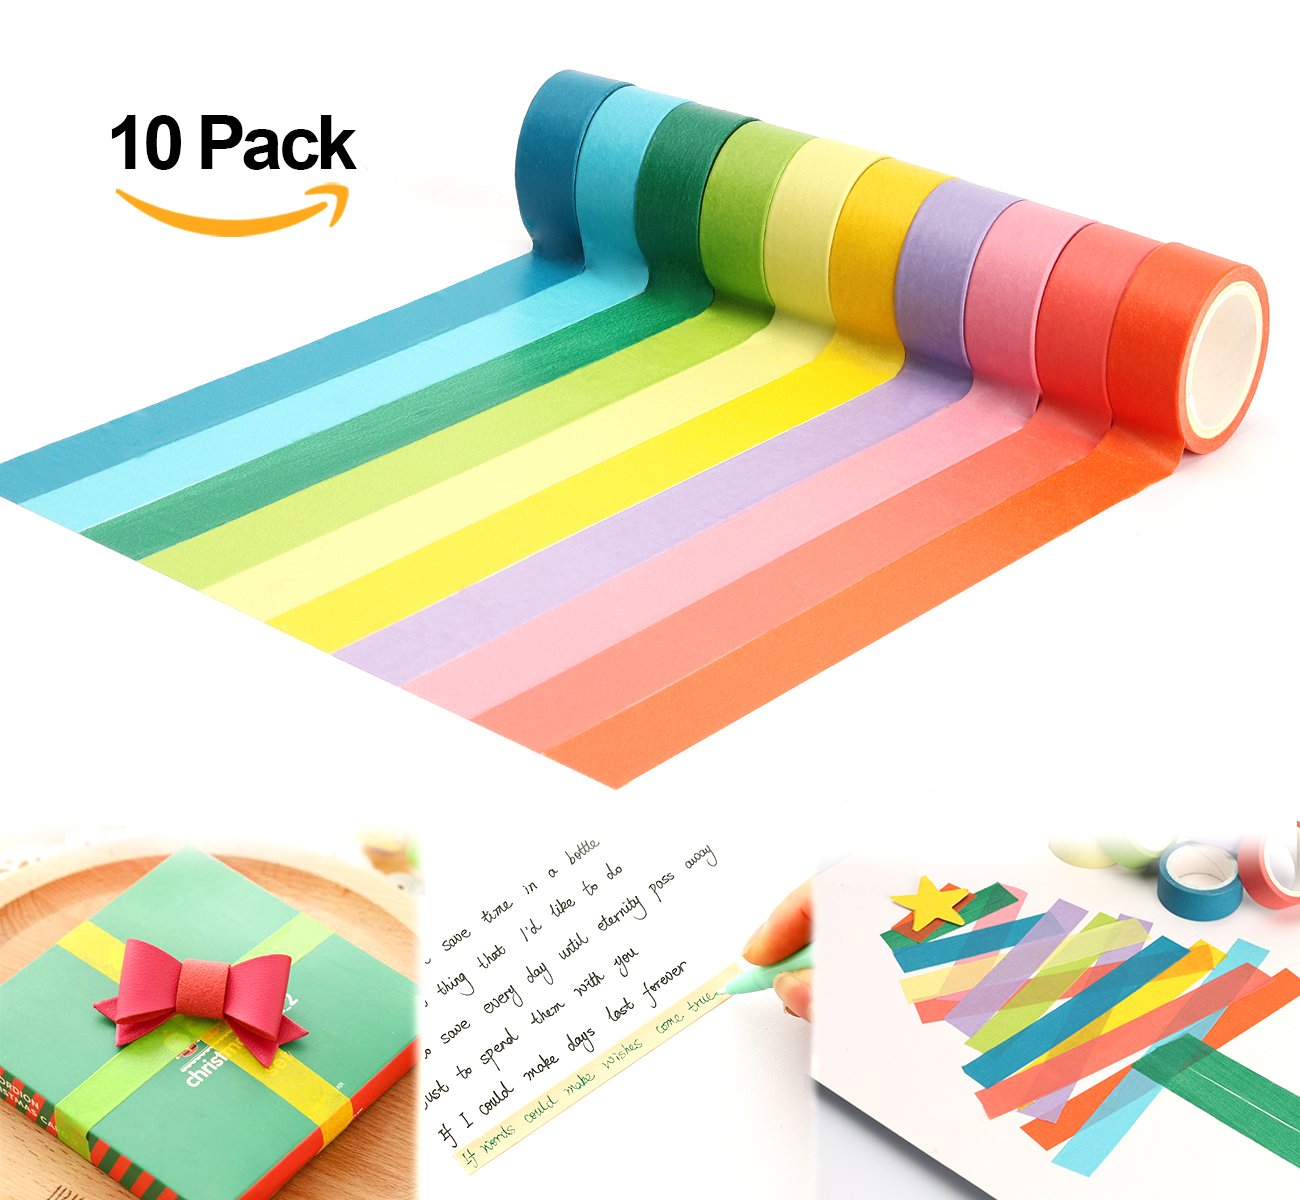
- Washi tape: Washi tape is the perfect decoration for a bullet journal, just find your style but a good set of plain coloured tapes are a perfect starting point.
Step 3: The setup
*Now you need to decide your style of journalling. I would love to do a post completely dedicated to setup ideas so leave a comment if you would like to see that. But just find a colour scheme like pastel, vibrant or natural. Find your style whether it is minimalistic, girly or even boho.

* The index – You don’t have to put everything in your index, but it’s a good place for the important stuff you will likely want to easily reference later.Your index can be as specific as you want it to be. For example, you can create a single entry for “Travel,” and put all travel-related page numbers there. This keeps your journal super organised. You can even add in a key here to keep journalling concise.

*Weekly plans- Your going to need a set weekly setup because although you will have those miscellaneous little pages about your dreams or travel, the whole point of a bullet journal is to keep you organised but how would you possibly achieve that without having an organised journal first.


amazing post!! i’ve been considering starting one for a bit now… maybe when the planner i have ends!!
LikeLiked by 1 person
Thank you, you should definately give it a try trust me it will be worth it!
LikeLiked by 1 person